Stingray Corvette Forum banner

Glen E's C7 Corvette Stingray Build Thread

336K views 601 replies 103 participants last post by  Ron Christensen  
#1 · (Edited)
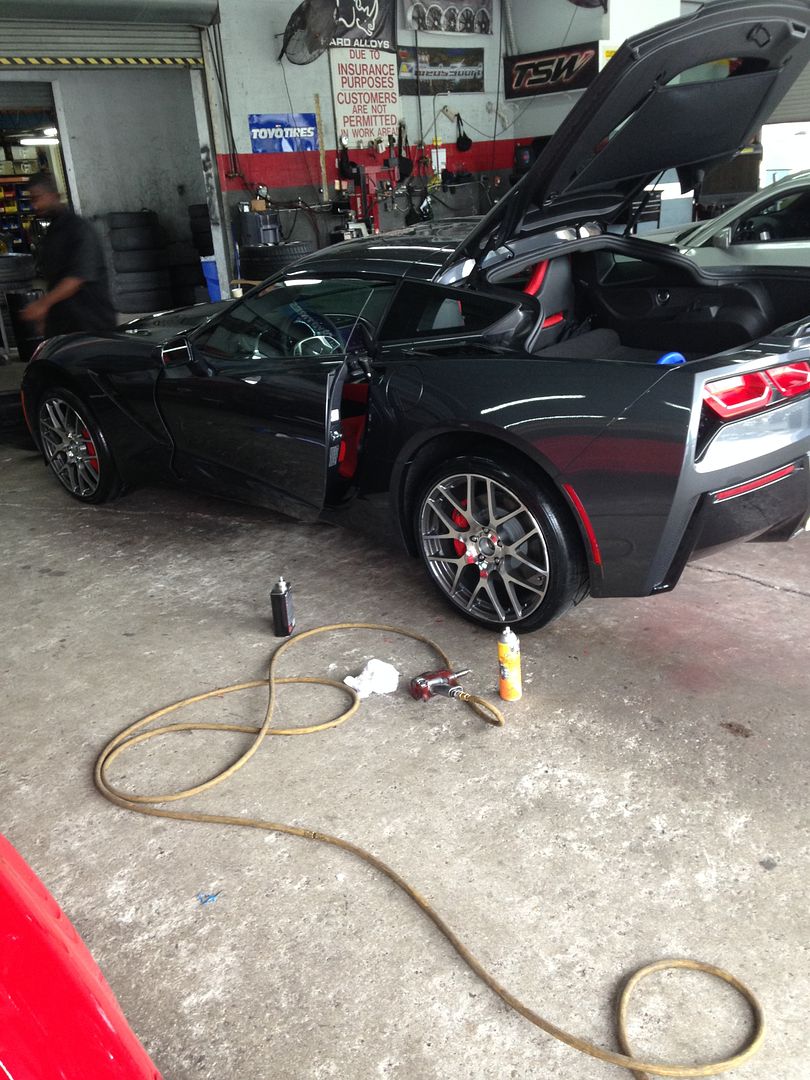
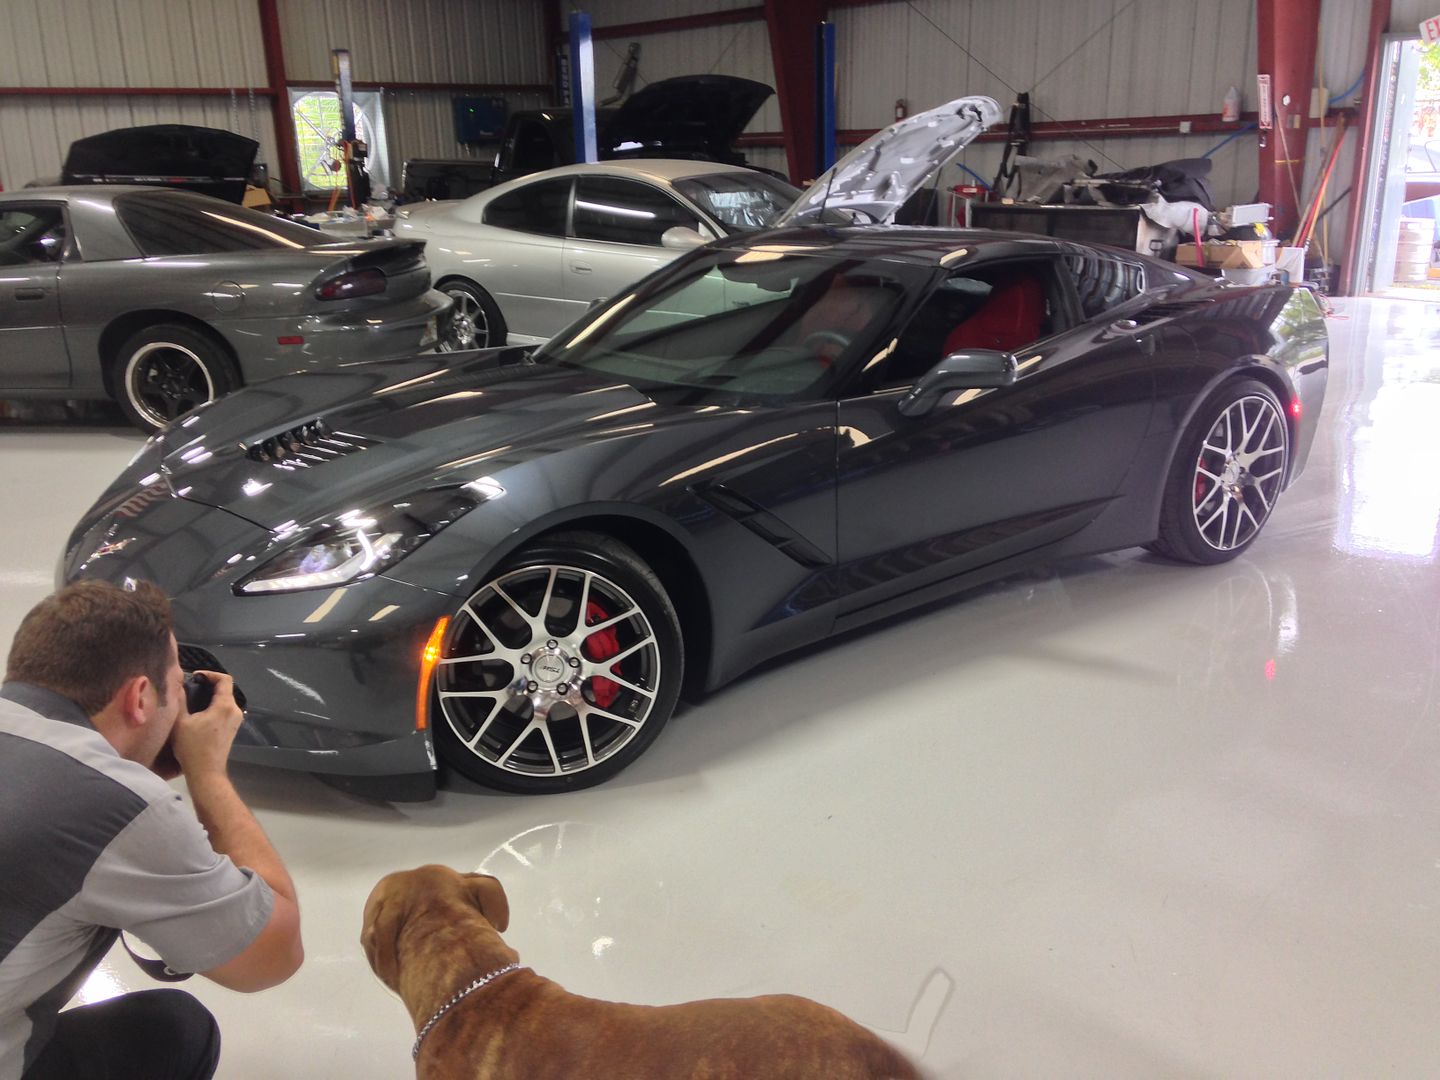
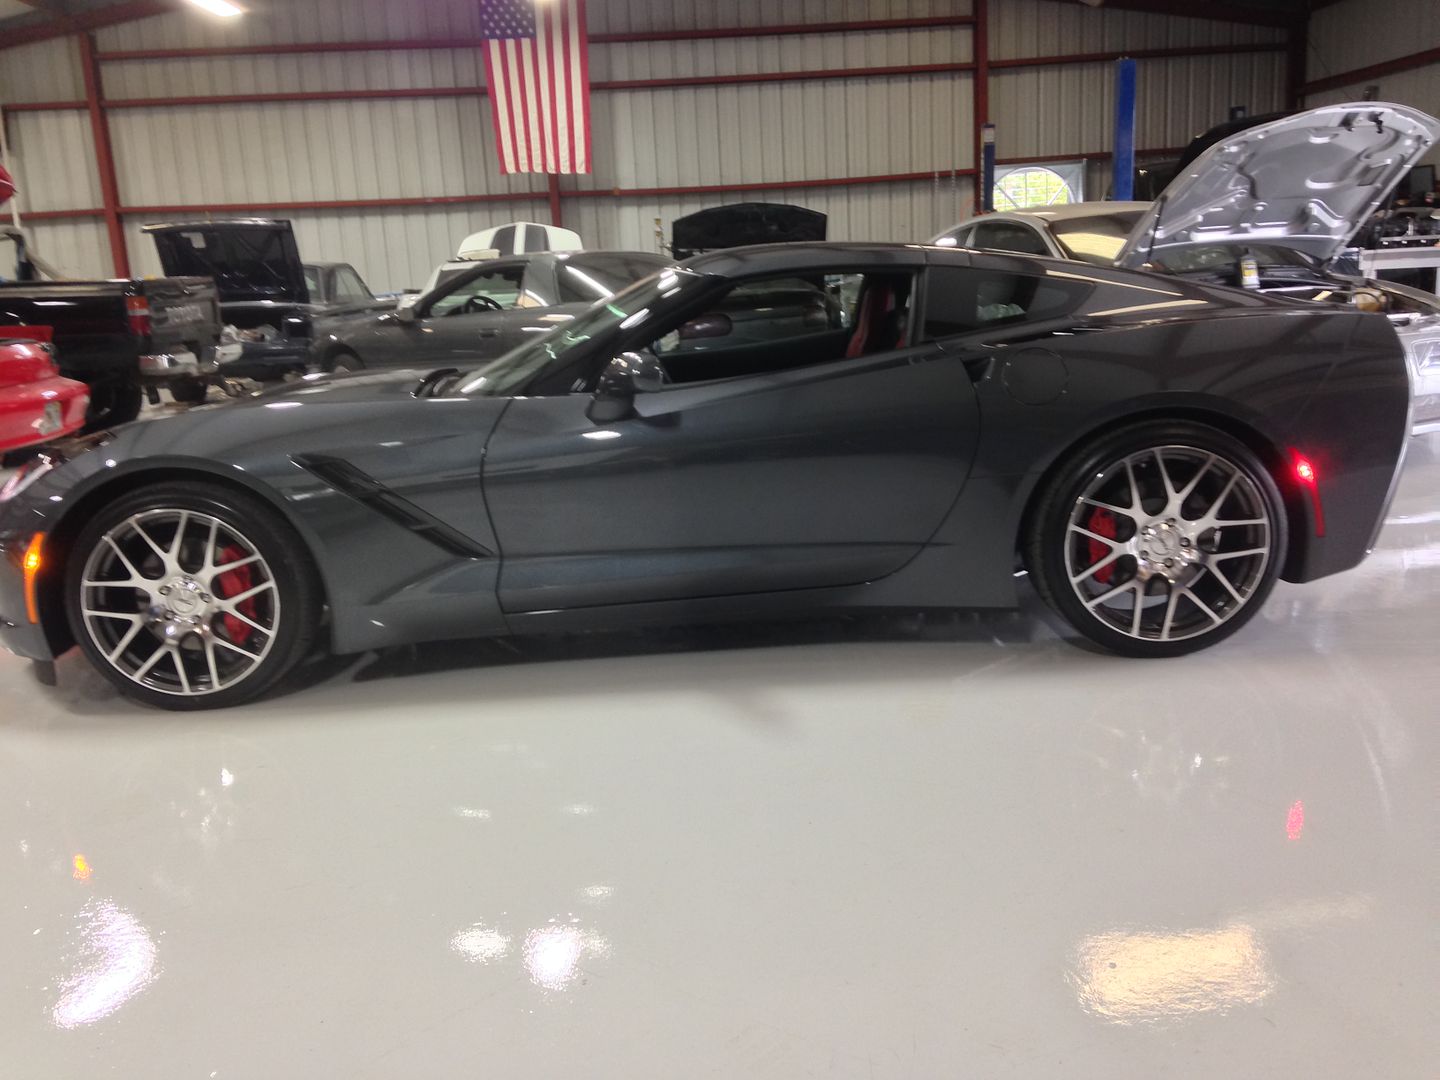
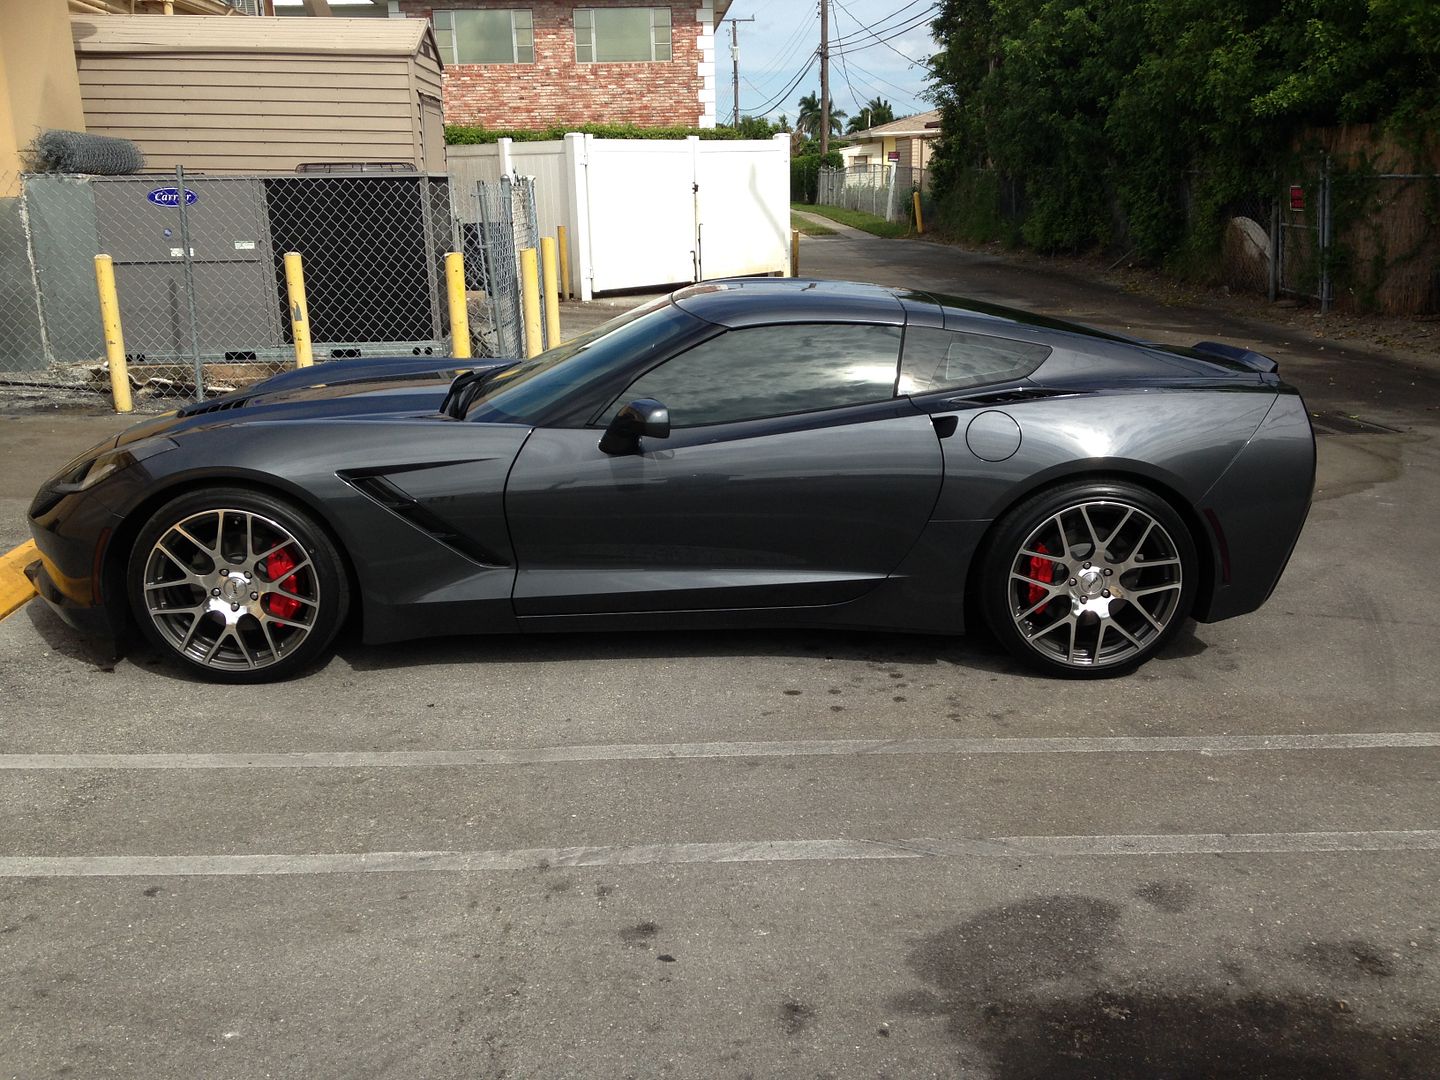
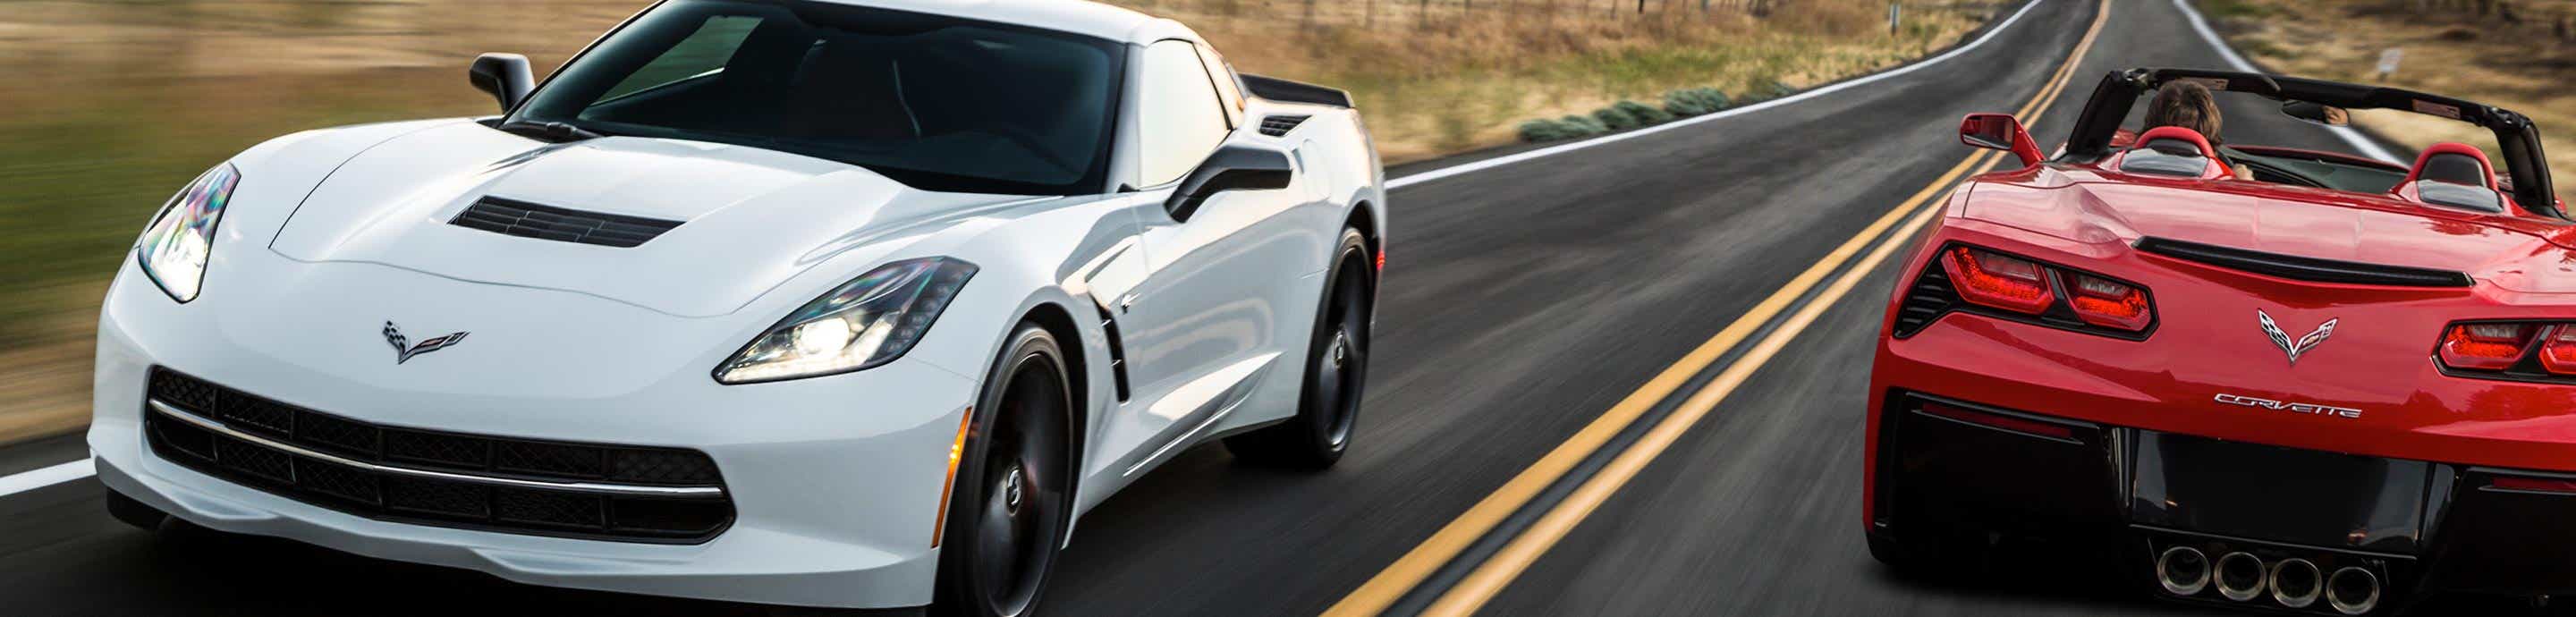
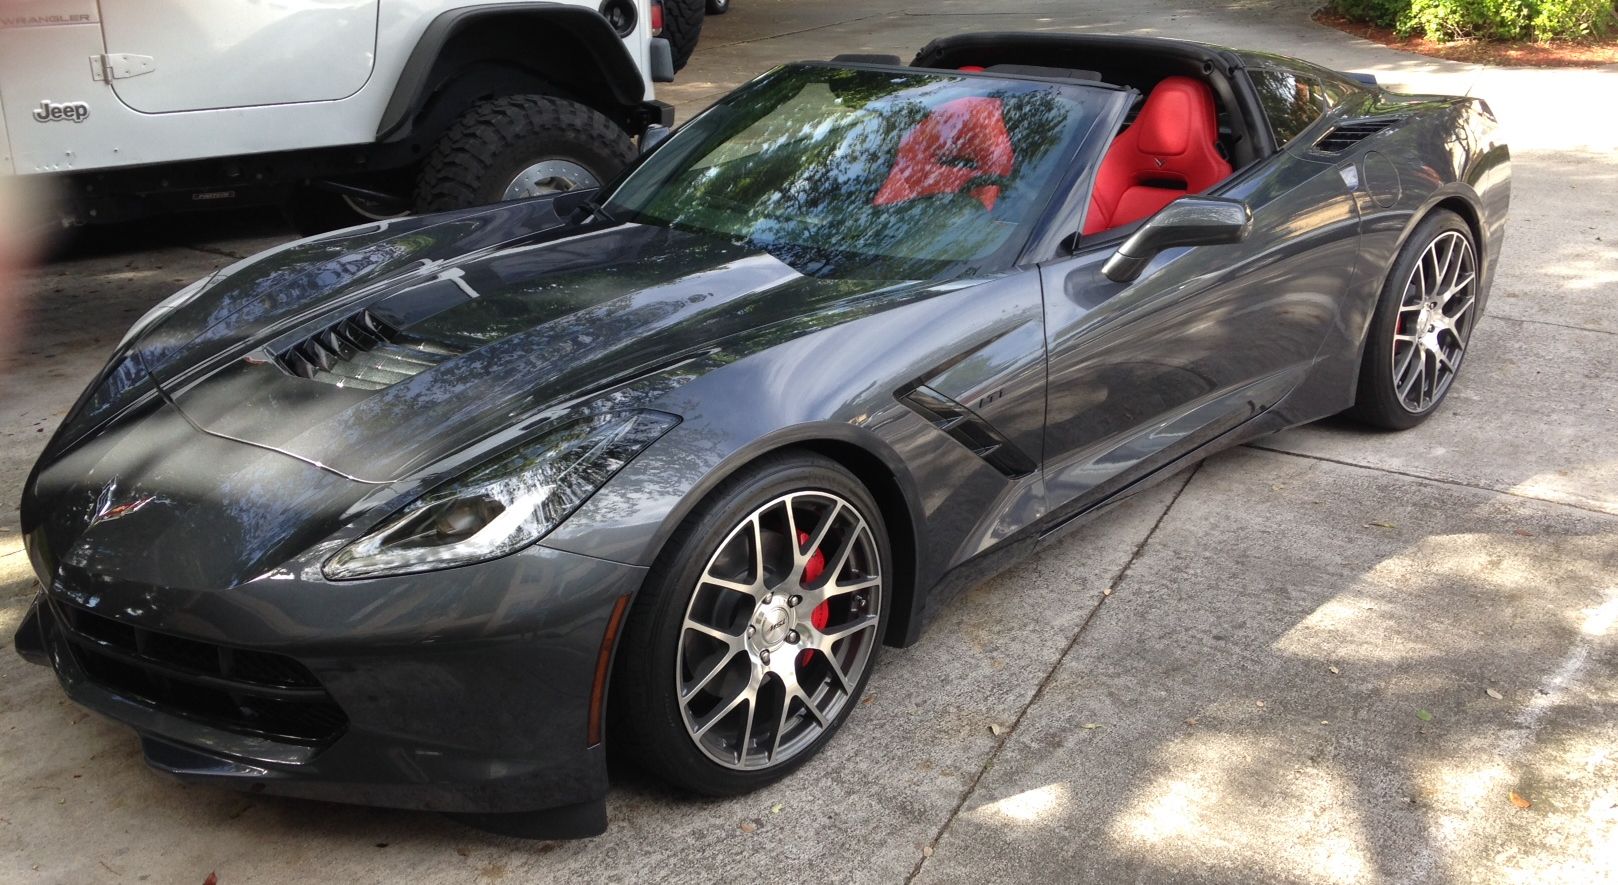
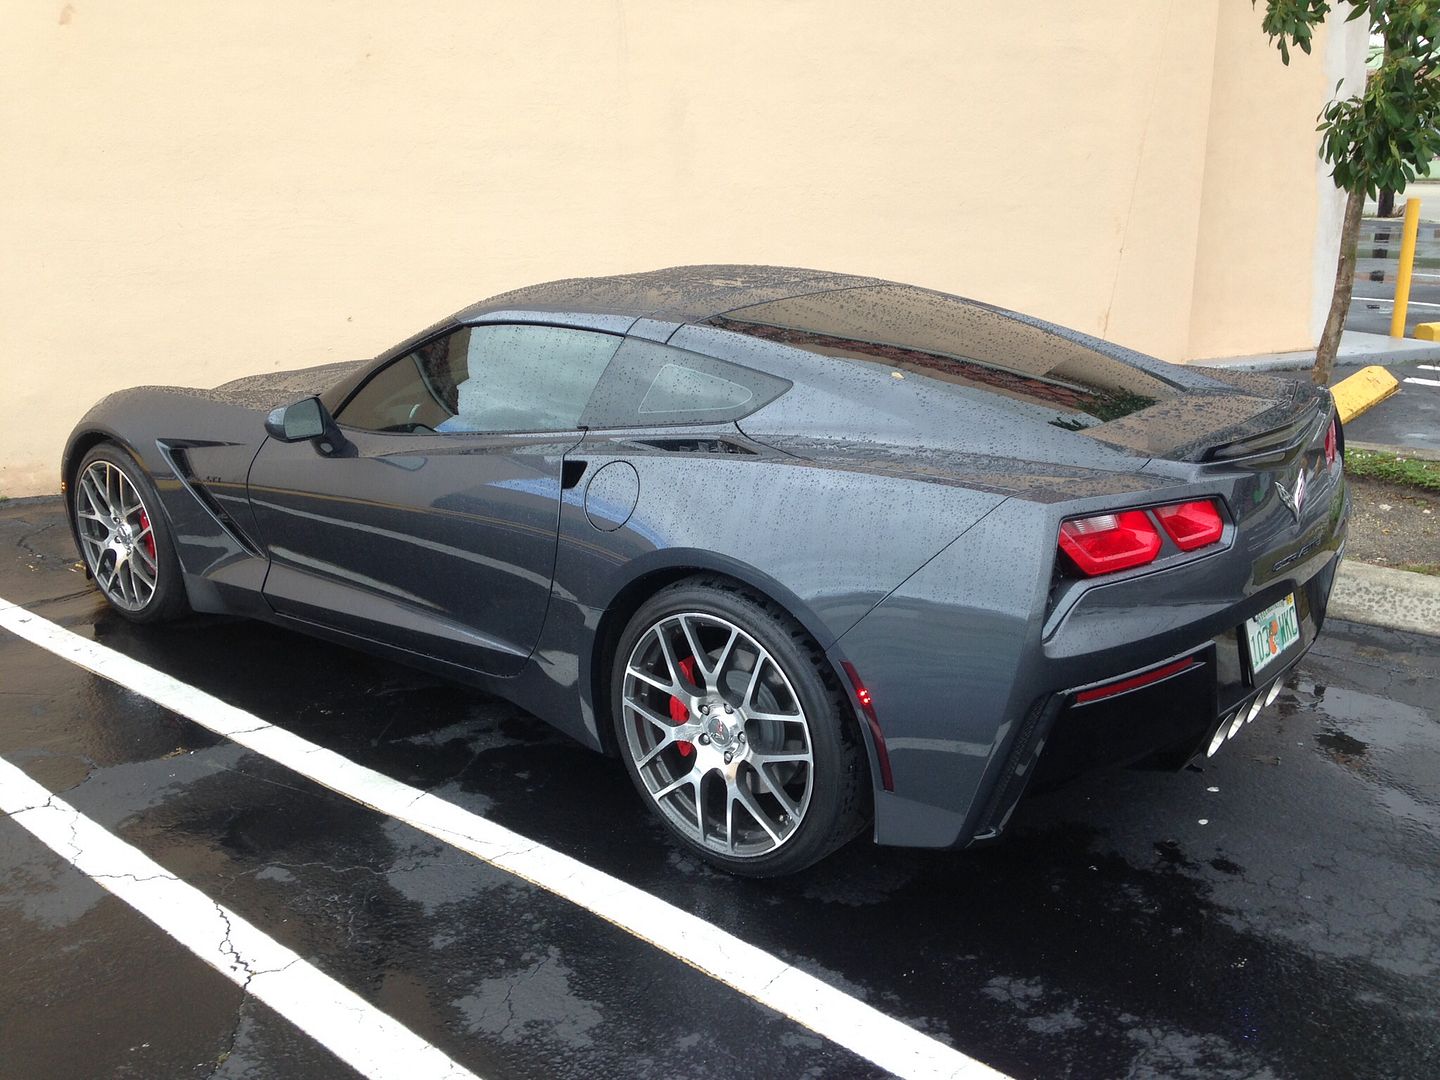
This is a non z51 2LT cyber gray/red lthr
1. body color paint chrome front strip-DONE
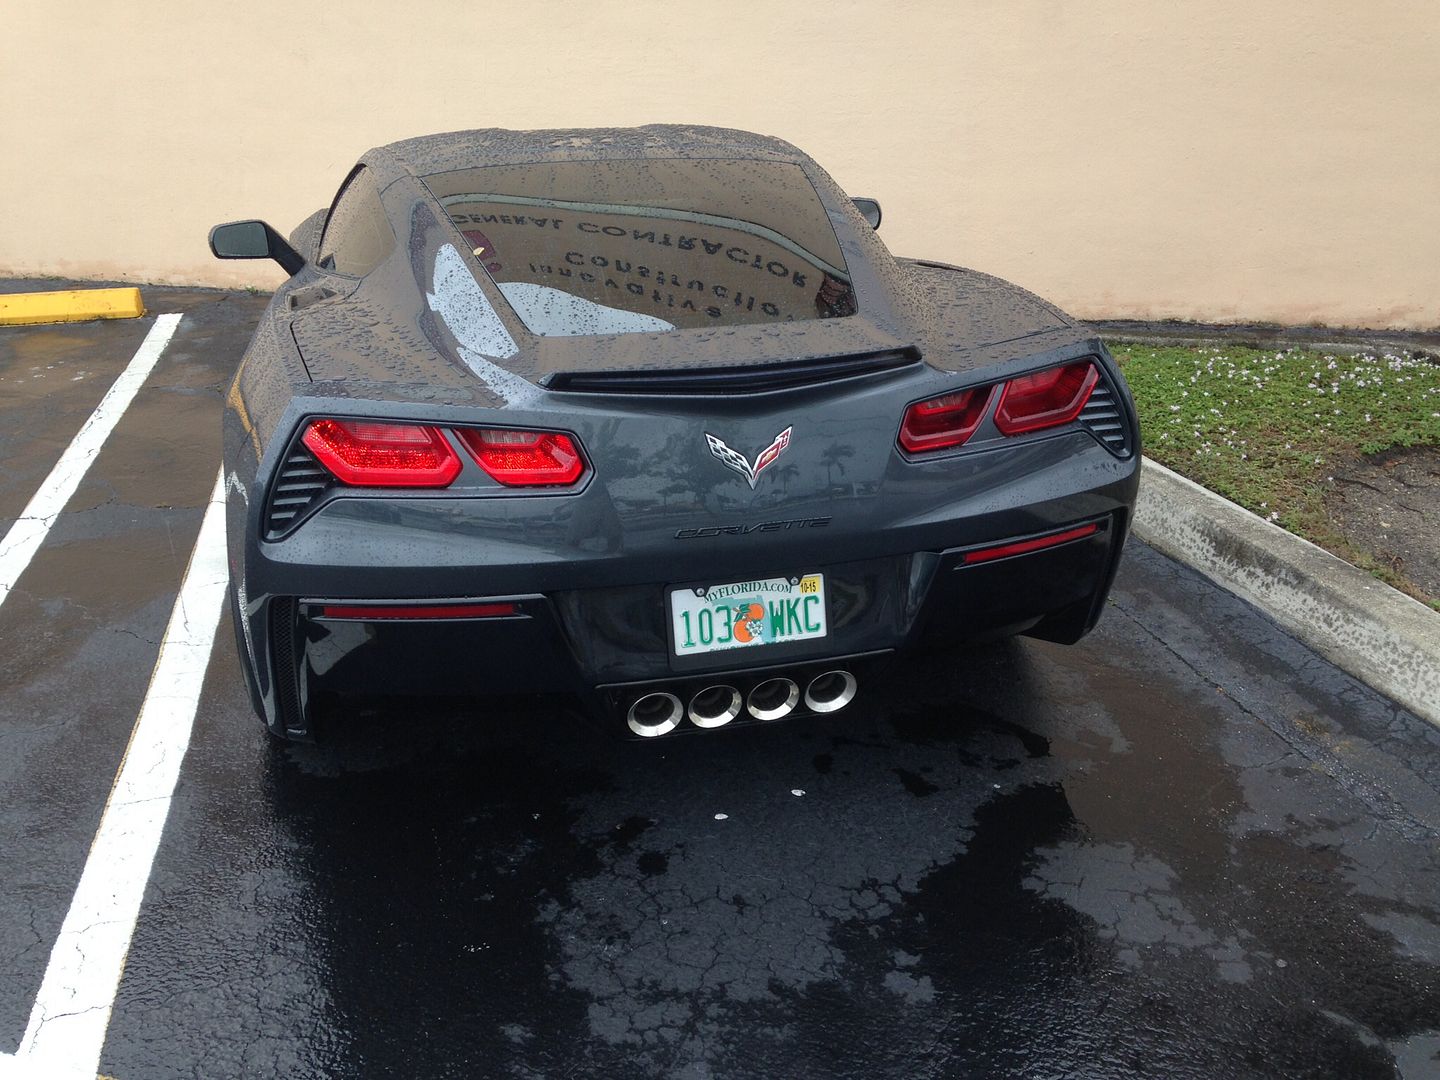
2. body color paint the taillight frames to eliminate the "mascara tear" look- DONE
3. Take off all chrome badges except the flags (but maybe a surprise here)-DONE
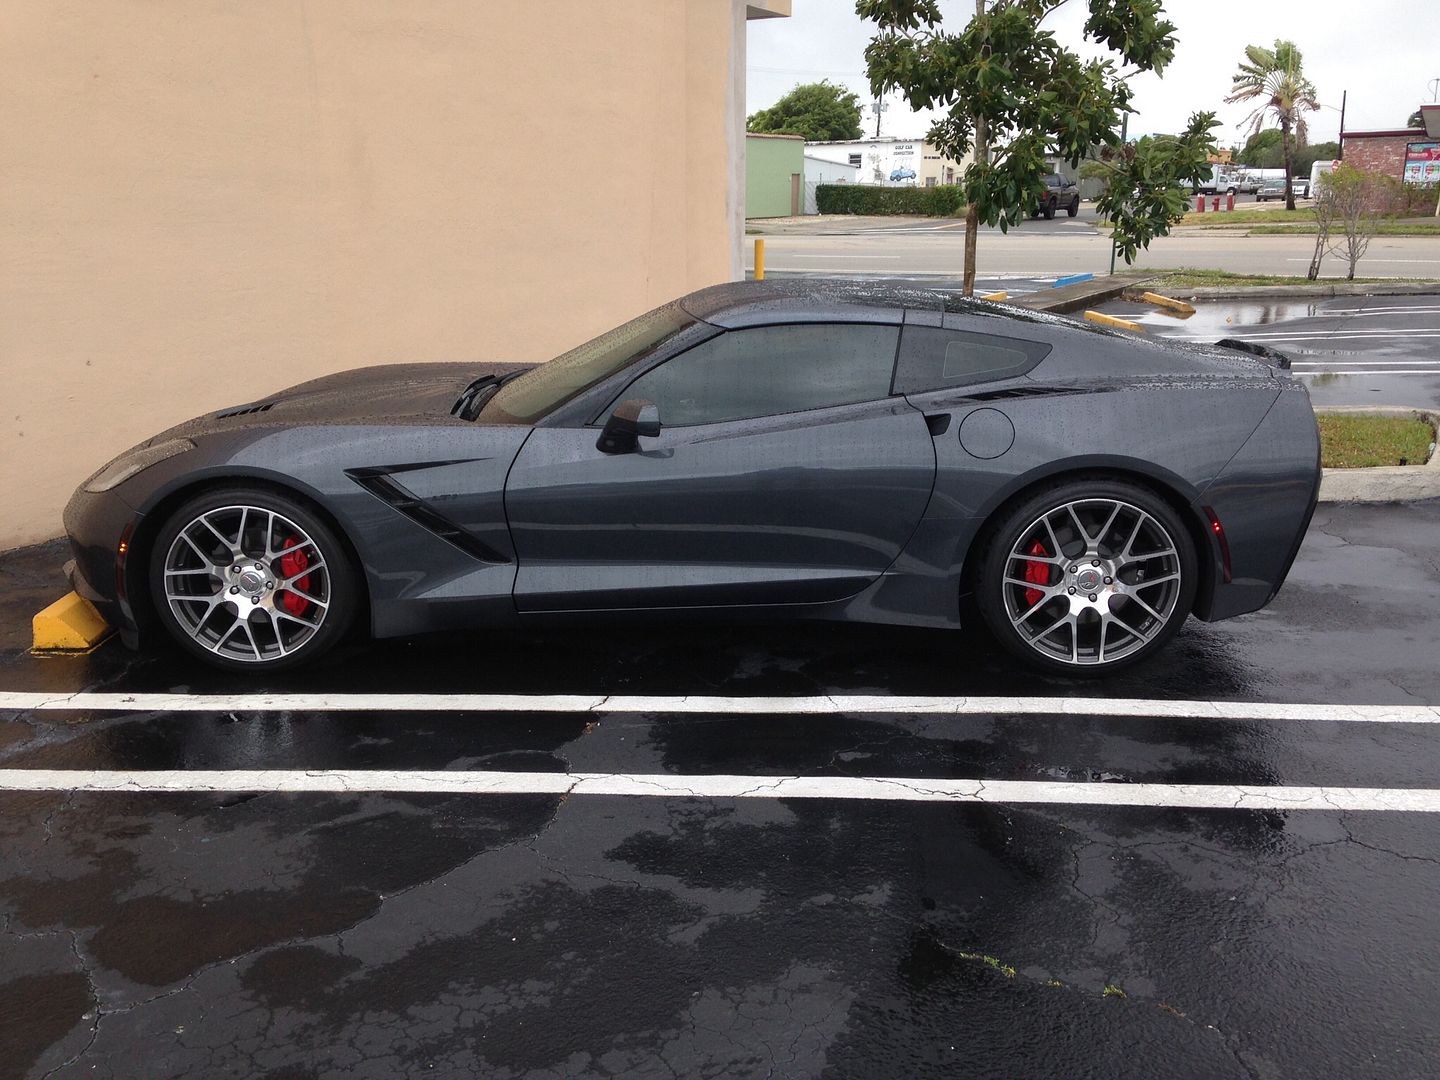
4. Lower the car via the lowering bolts 1 inch-DONE
5. completely polish and seal the car-DONE
6. change the oil due to 1200 mile trip home-DONE
7. Change out cargo mat-DONE
8. 20% tint all around-DONE
9. add gorilla 20 pc wheel locks-DONE
10. Cut a 3M 1080 gloss vinyl stinger stripe-DONE
11. opti-coat headlights, mirrors, front end and wheels-DONE
12. Side and rear marker blackouts -RPI-DONE
13. add RPI jacking pucks under car-DONE
14. xpel hatch closing area-DONE
15. xpel door sills - DONE
16. Carbon flash door kick panels - RPI - DONE
17. LED replacements for license plate and cargo area-DONE
18. Brushed exhaust plate - painted flat black-DONE
19. Flags tinted using Plastidip "Smoke" - DONE
20. OEM wing spoiler - with Opti Coat 2.0 coating
21. add read deck partition - DONE
22. Add OEM splash guards - DONE
23. Painted center console in Carbon Flash - DONE
24. Remove entire front air dam-DONE
25. entire car wet sanded/polished to reduce orange peel- CQuartz applied
26. paint in carbon flash center console, steering bezel and door alum trims - DONE
27. Cray Brickyard wheels mounted
27 Forgeline AR-1's being mounted.

the whole mission statement of this car is to mod it heavily, but no mod will be overwhelming and be apparent to the normal public as a "mod" - i.e juvenile - ricer...

A VERY IMPORTANT NOTE:
What I do to my car is not the norm, and certainly I am not pushing for anyone else to do it. But it's been thought out, and experts consulted. I post here to just show what is possible. No need for you to post your opin, but if you have questions, please ask...

only Vette enthusiasts will be able to pick out what's done....in a year, the car has gone thru many permutations...and will continue.


#3 · (Edited)
Thanks to travisnd, here is your answer: The process is simple and similar to what one does on both the C5's/C6's.

"In the front you turn the bolt counter-clockwise to move the adjuster closer to the spring. This closes the gap between the lower control-arm and spring thereby lowering the car. In the rear the spring hangs below the a-arm. You back off the nut to where only a couple of threads show on the bolt this widens the distance between the spring and lower control-arm thus pushing the suspension higher up in the car and allowing the car to sit lower. To go farther than OEM adjustments you can cut the spring adjuster pad in the front and out back you can get longer bolts. However, going farther than OEM will negatively alter suspension geometry and the shocks will be bottoming out. For best performance lower the car 1/2-3/4" from OEM height and leave it there. Those that go more are just looking for a "slammed" look and are actually hurting the handling capabilities of the car. Lowering the car changes camber and toe so you'll want to get it realigned."

For lowering bolt pictures, and other suspension pictures and info:
http://www.edmunds.com/car-reviews/...ews/track-tests/2014-chevrolet-corvette-stingray-z51-suspension-walkaround.html
 
#6 ·
Thanks for sharing.I have been reading most of your post Glen E.I have on order 2LT,Z51,MRC cybergrey with kalahari.(Wife wants a white with red interior...so might change the order).Order was almost a month ago n still with the dealer,not moving at all. No rush,got more cars than I can drive. I normally don't post anything but having read alot of Glen's post, I thought I have to join to thank Glen for his very interesting,insightful and informative posts. Laborsmith comments n posts are also very insightful. Thanks to all that have posted or commented.
 
#9 · (Edited)
OK - no matter if you like the spoiler or not - here is how it mounts (or dismounts). It comes with a template that you drill NINE holes into the rear of your car to mount. The spoiler came in perfect shape, perfect paint and shipped nicely. The instructions just tell you to see the service system bulletins to install, but it's a no brainer as they give you a durable plastic template to drill. From GMpartsdirect.com

Update - I am returning it...you have to take off the bumper to get it done...I can do that, but along with the work and the wider look you get when you don't have it, I'm not doing it...gmpartshouse was great in accepting it back (bur with std 20% return)


#10 ·
Got this in today for my 1200 mile trip home from Coughlin near the end of the month. I'm not a fan of bras staying on the car, but for occasional trip, they have always worked for me. This is a nice bra, two snaps mount under the hood and the rest inserts into the seams and has J hooks under the car...outer skin is nice cordura, and inside is a soft low nap felt.
 
#11 ·
Looking good! My only concern with the vinyl "bra" is the potential damage to the paint if it comes loose or you get heavy rain. I think the temporary clear "tape" is a better solution.
 
#12 · (Edited)
I don't disagree and this will come off anytime the weather turns terrible...but for love bugs, this beats the clear tape which also has a detriment; - depending on how things are prepped, it CAN tear off clear...Before anything goes on, I'll Opti Coat 2.0 the front end...
 
#19 ·
My car was bayed today so I should see it at Coughlin this week. Let the mods begin! So here's a teaser.

The corvette and fish are coming off but I'm not adverse to badges, just not chrome or the the ones chev has...

So this is going on in place of the fish - made to OEM stds by GM licensed emblempros.com:


and this will replace the corvette on the back - carbon flash lettering from RPIdesigns.com


Should look good on the Cyber paint. - about 20 more mods planned... stay tuned...I'll tell you how I did it, and where I got it.....
 
#20 ·
sweet I cant wait ... I am thinking of what I am going to do, and there is not a lot of performance parts now... what is opti coat 2.0 is that the best clear coat protection? thanx
 
#22 ·
Glen, do you put the opti coat on yourself? If so, how difficult has it been to get it perfect? :cool:
 
owns 2018 Corvette C7 2LT
#23 · (Edited)
It is about as easy as it gets...... The reason detailers charge so much to put it on is you have to have a perfect surface because you're going to seal the surface in. headlights on a brand-new car are perfect to start with ....edited my build thread to include wheels, that's where OPTI coat really is needed

It just wipes on, wait 5 min and MF off any spots you can see ...OPTI calls them high spots....
Watch this:

BTW, get this applicator to apply it - it saves a lot of the product soaking into the sponge and wasting it:

http://www.autopia-carcare.com/optimum-paint-coating-applicator.html
 
#24 ·
It is about as easy as it gets...... The reason detailers charge so much to put it on is you have to have a perfect surface because you're going to seal the surface in. headlights on a brand-new car are perfect to start with ....edited my build thread to include wheels, that's where OPTI coat really is needed

It just wipes on, wait 5 min and MF off any spots you can see ...OPTI calls them high spots....
Watch this:
It does seem simple enough. Thanks!
 
owns 2018 Corvette C7 2LT
  • Like
Reactions: YllwStgr
#25 · (Edited)
Mod 1:TSW Nurburgrings

Ok The "fake forged" (inside joke)...are going on, check back for updates. A few bits of info: no centering rings, offset perfect, TPMS monitors switched, no problem. The contrast paint on wheel matches EXACTLY the cyber gray...
Image

Image


Image


Here are the specs on the wheels to buy....tires are same size as z51;
front
NURBURGRING 19x9.0 5/120.65 ET50 GUNMETAL W/MIRROR CUT FACE
Item Number: 1990NUR505121S70
rear
NURBURGRING 20x10.5 5/120.65 ET65 GUNMETAL W/MIRROR CUT FACE
Item Number: 2005NUR655121S70

With new tires it's a 2500-3000 expense depending on tires
 
#28 ·
Glen,

Appreciate the step-by-step with pictures, and thank you for sharing where you bought each of your aftermarket purchases! That will help others who want to do the same mod.
 
#30 ·
Lowering on bolts

Had the car after wheels lowered using the bolts...interesting and maybe why we are seeing diff levels coming out of factory. The rear was already lowered virtually all the way and the bolts would only go down.2 and the front took .75....had it done at Lashway mtr sports as I did not want to screw with it...he also measured each side and was $100.. Great shop owns a C7 ...Eric at Lashway mtr sports

954 971 4383

Image
 
#175 ·
Had the car after wheels lowered using the bolts...interesting and maybe why we are seeing diff levels coming out of factory. The rear was already lowered virtually all the way and the bolts would only go down.2 and the front took .75....had it done at Lashway mtr sports as I did not want to screw with it...he also measured each side and was $100.. Great shop owns a C7 ...Eric at Lashway mtr sports

954 971 4383

Image
Glen I know you had a post on how you can lower the Z51 from 1/2 to 3/4 of inch. Will the dealer do this before they deliver the car to you? Or are they required to give it to you at a certain ride height? I also understand if you lower that you need to get an alignment done. Just curious if I can ask my dealer to do it before I take delivery of the car.


Sent from my iPhone using Corvette Stingray Forum
 
#35 ·
badges and markers mod

OK - here's the badge/ marker mod...I don't dislike badges if done right just not chrome ones, (or ones the swim). So off came the rear Corvette badge and the side fish.

1st up (and I'm sure controversial), is I don't mine telling people what kind of engine I have and also done discreetly, this can't be seen from 15 feet away. The LT1 Letters made for me by Roger at Emblempros.com


Dark Tint strips- the still reflect, just don't look as obtrusive. These are the vinyl ones, as they are a smooth surface fit. From RPIdesigns.com

You can see the look here, just less conflicting yellows and reds

Chrome letters off, Carbon flash on - again from RPIdesigns.com

Chrome front strip - Simple strips of vinyl - from VetteFX